How ReplyEarly Works
A simple guide to setting up and using ReplyEarly for your business. Get from signup to your first WhatsApp campaign in minutes.
Create your ReplyEarly account
Sign up in a few seconds and set up your workspace. You can invite your team members and choose your preferred WhatsApp messaging plan anytime.
Pro tip: Use your business email and invite your team to collaborate from day one.
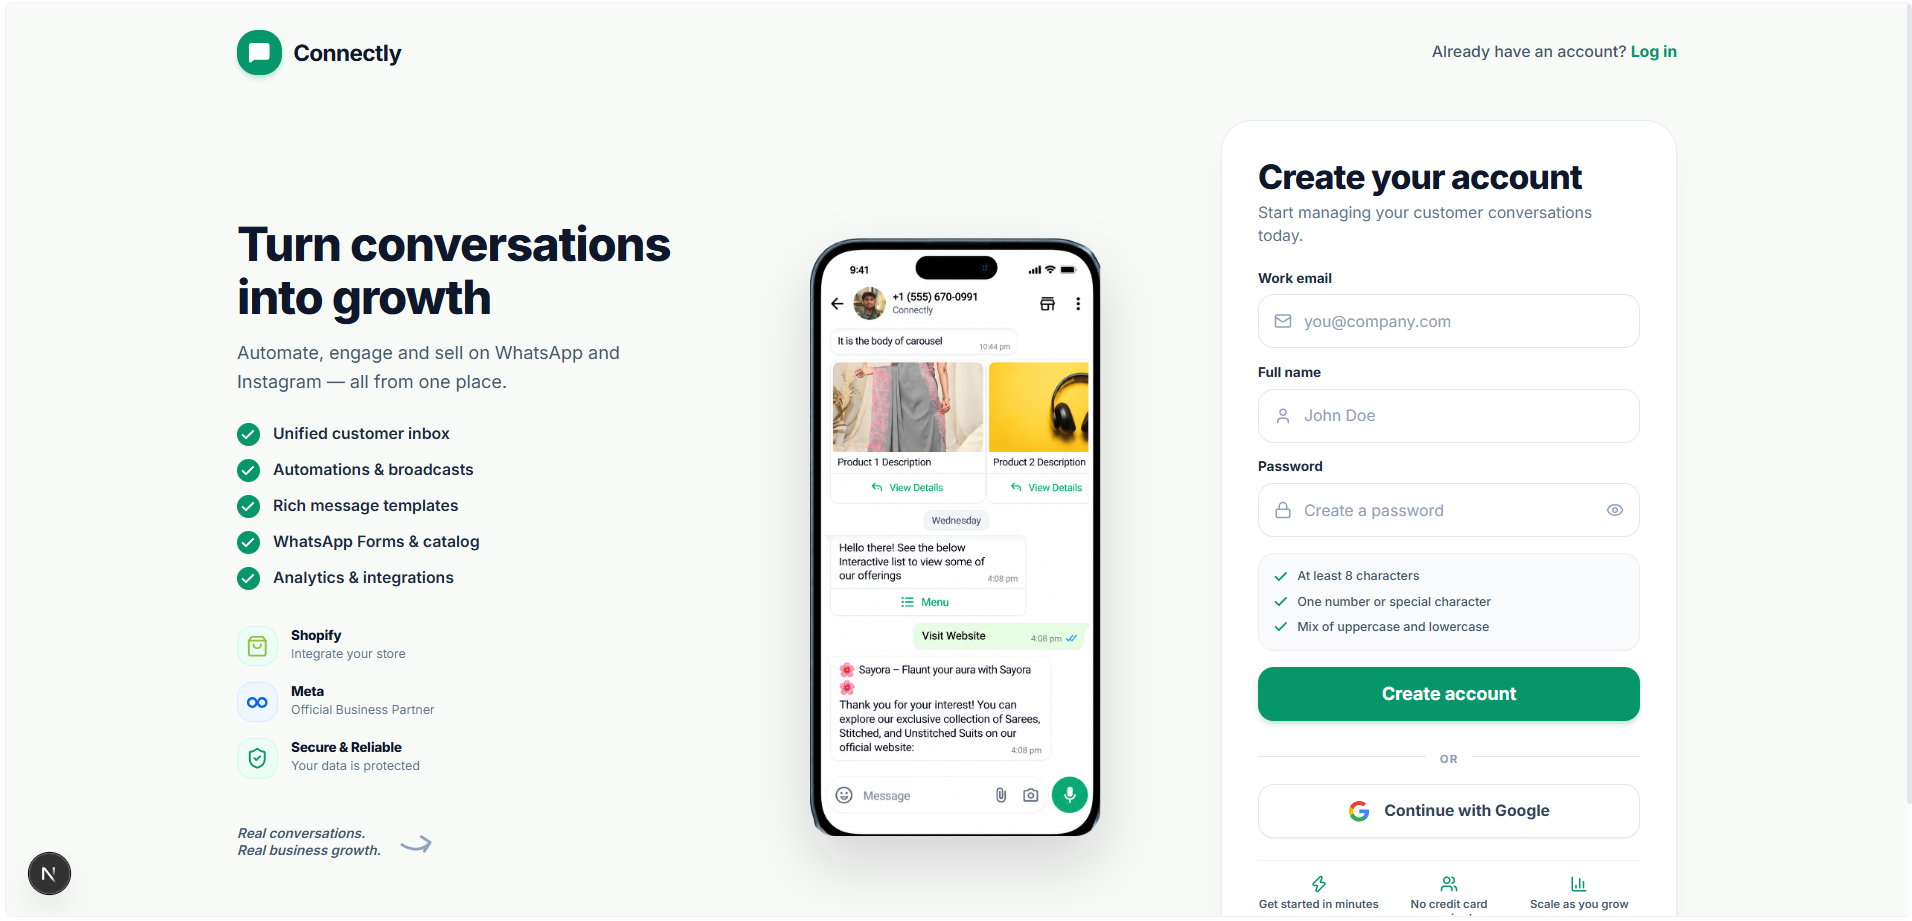
UI Preview: Create your ReplyEarly account and name your business workspace.
Connect your WhatsApp Business account
Link your WhatsApp Business API in just a few clicks. ReplyEarly works directly with the official Meta Cloud API, ensuring high delivery speed and official green tick eligibility.
Pro tip: Make sure you have a verified Meta Business Manager and an unlinked WhatsApp phone number ready.
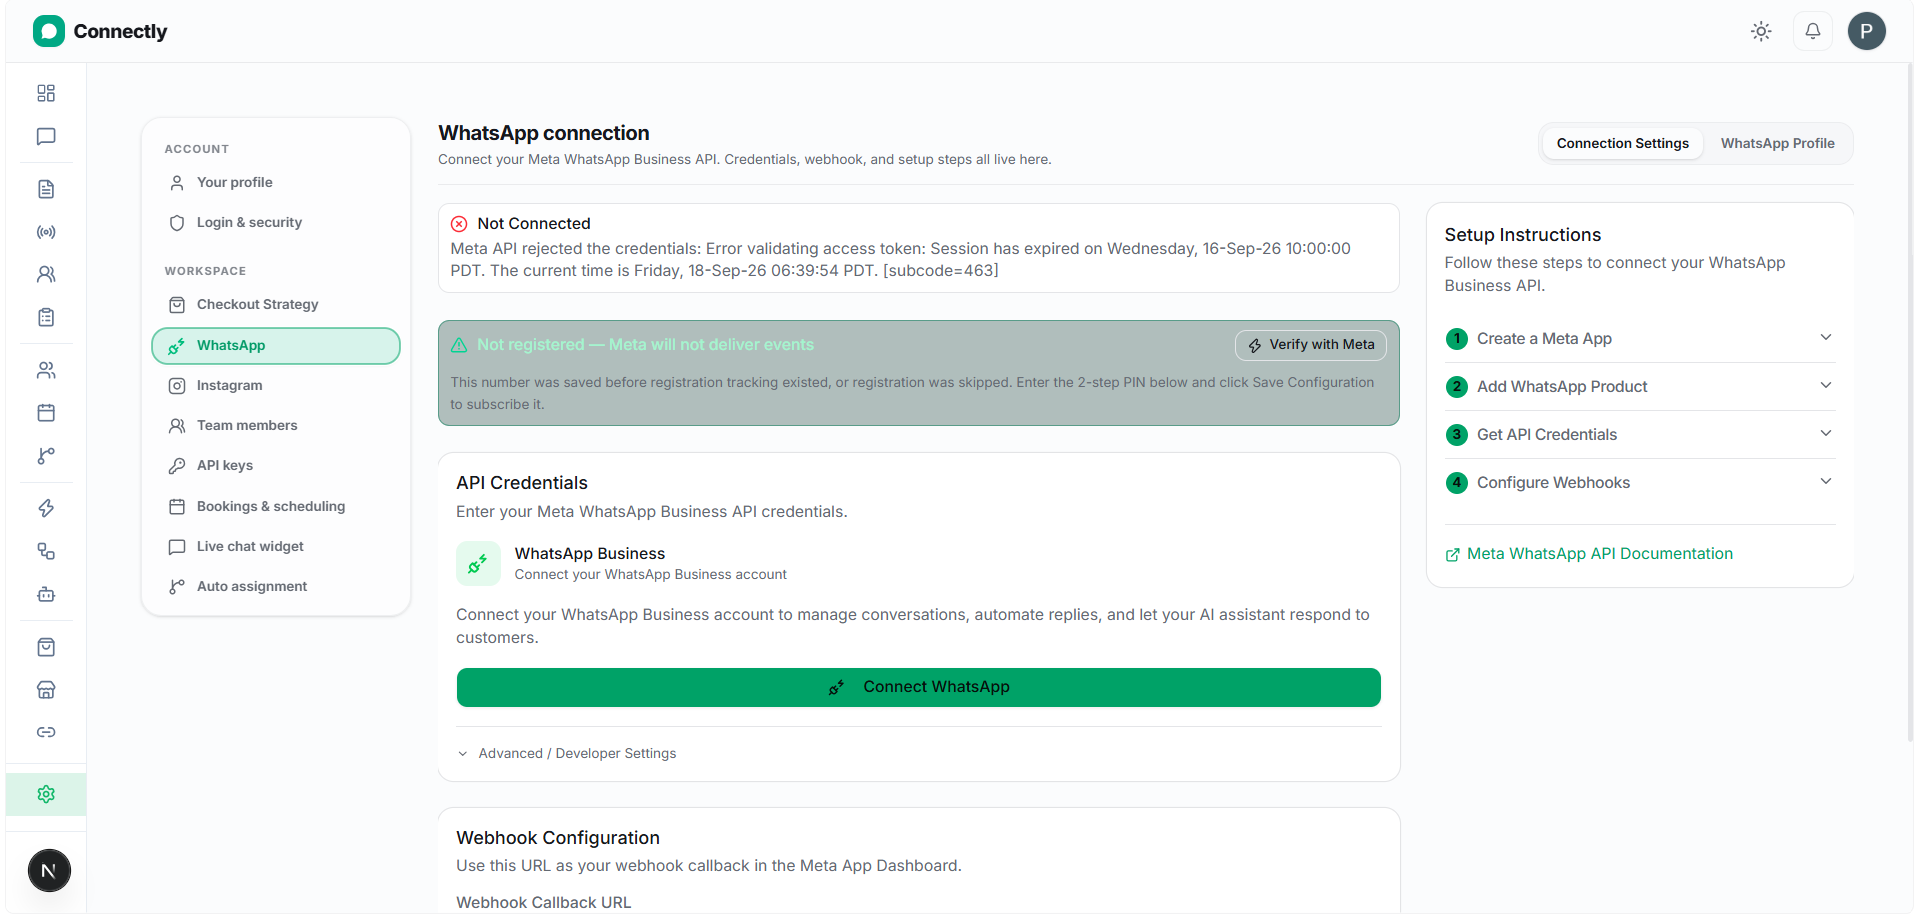
UI Preview: Link Meta Cloud API and verify your WhatsApp Business phone number.
Explore your dashboard
Once connected, you'll land on your ReplyEarly dashboard. Here you can monitor live message volume, view total contacts, track open conversations, and track performance.
Pro tip: Take a quick tour of the left navigation sidebar to familiarize yourself with Inbox, Broadcasts, Automations, and CRM.
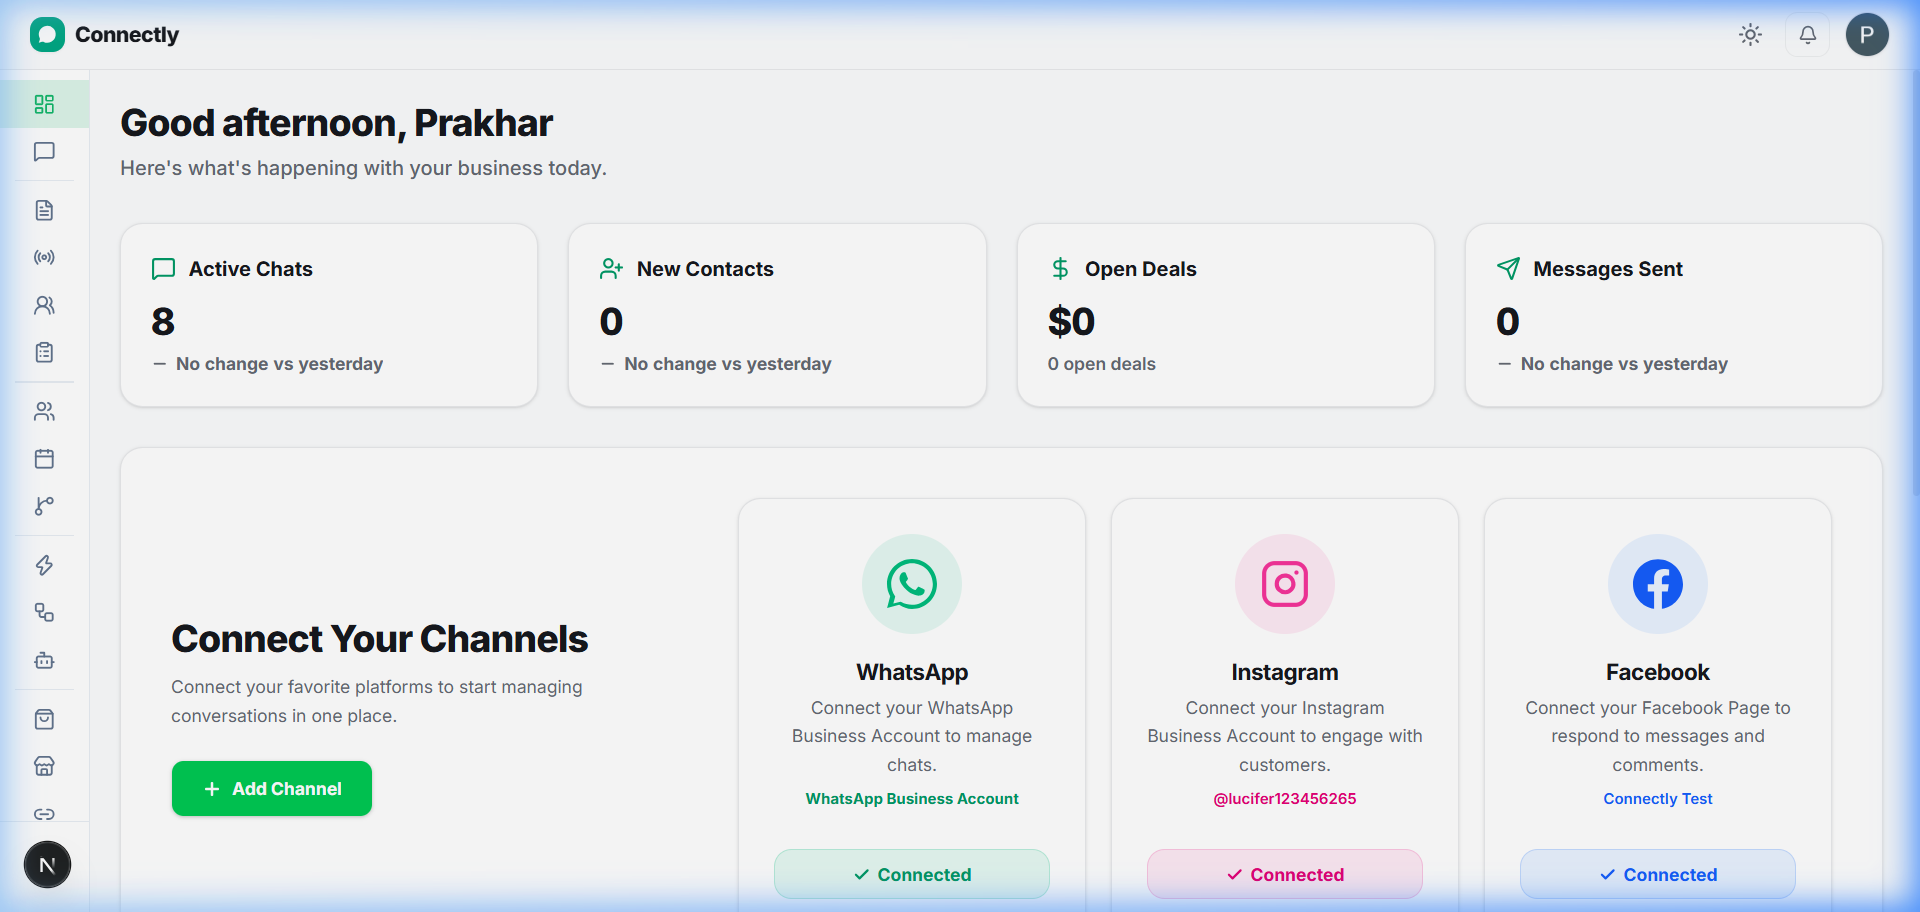
UI Preview: Overview of your ReplyEarly dashboard, message metrics, and recent conversations.
Create your first customer communication
Choose how you want to reach out to your customers. You can pick a ready-to-use WhatsApp template, send a broadcast campaign, or activate an automatic order confirmation flow.
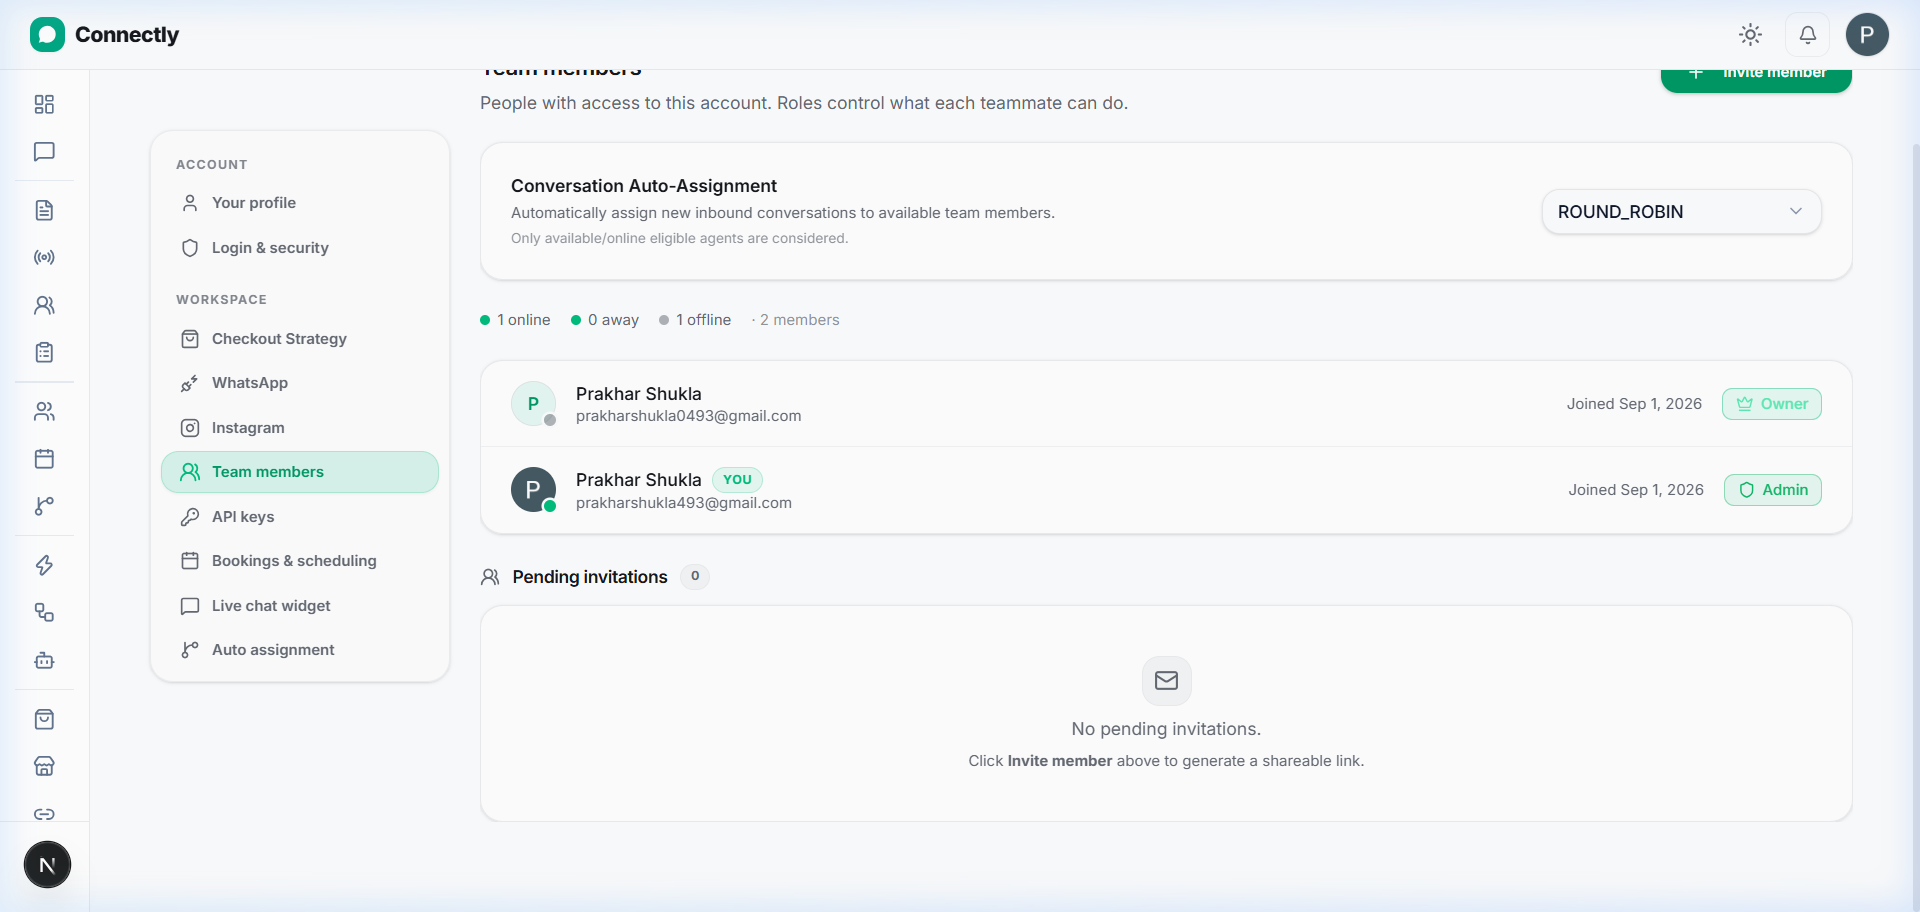
UI Preview: Select a WhatsApp template or flow to communicate with your audience.
What's next?
Now that you understand the basic workflow, check out these deep-dive setup guides: